
 English
 Russian
 French
 Spanish
 Portuguese
 Korean
 Japanese
 Thai
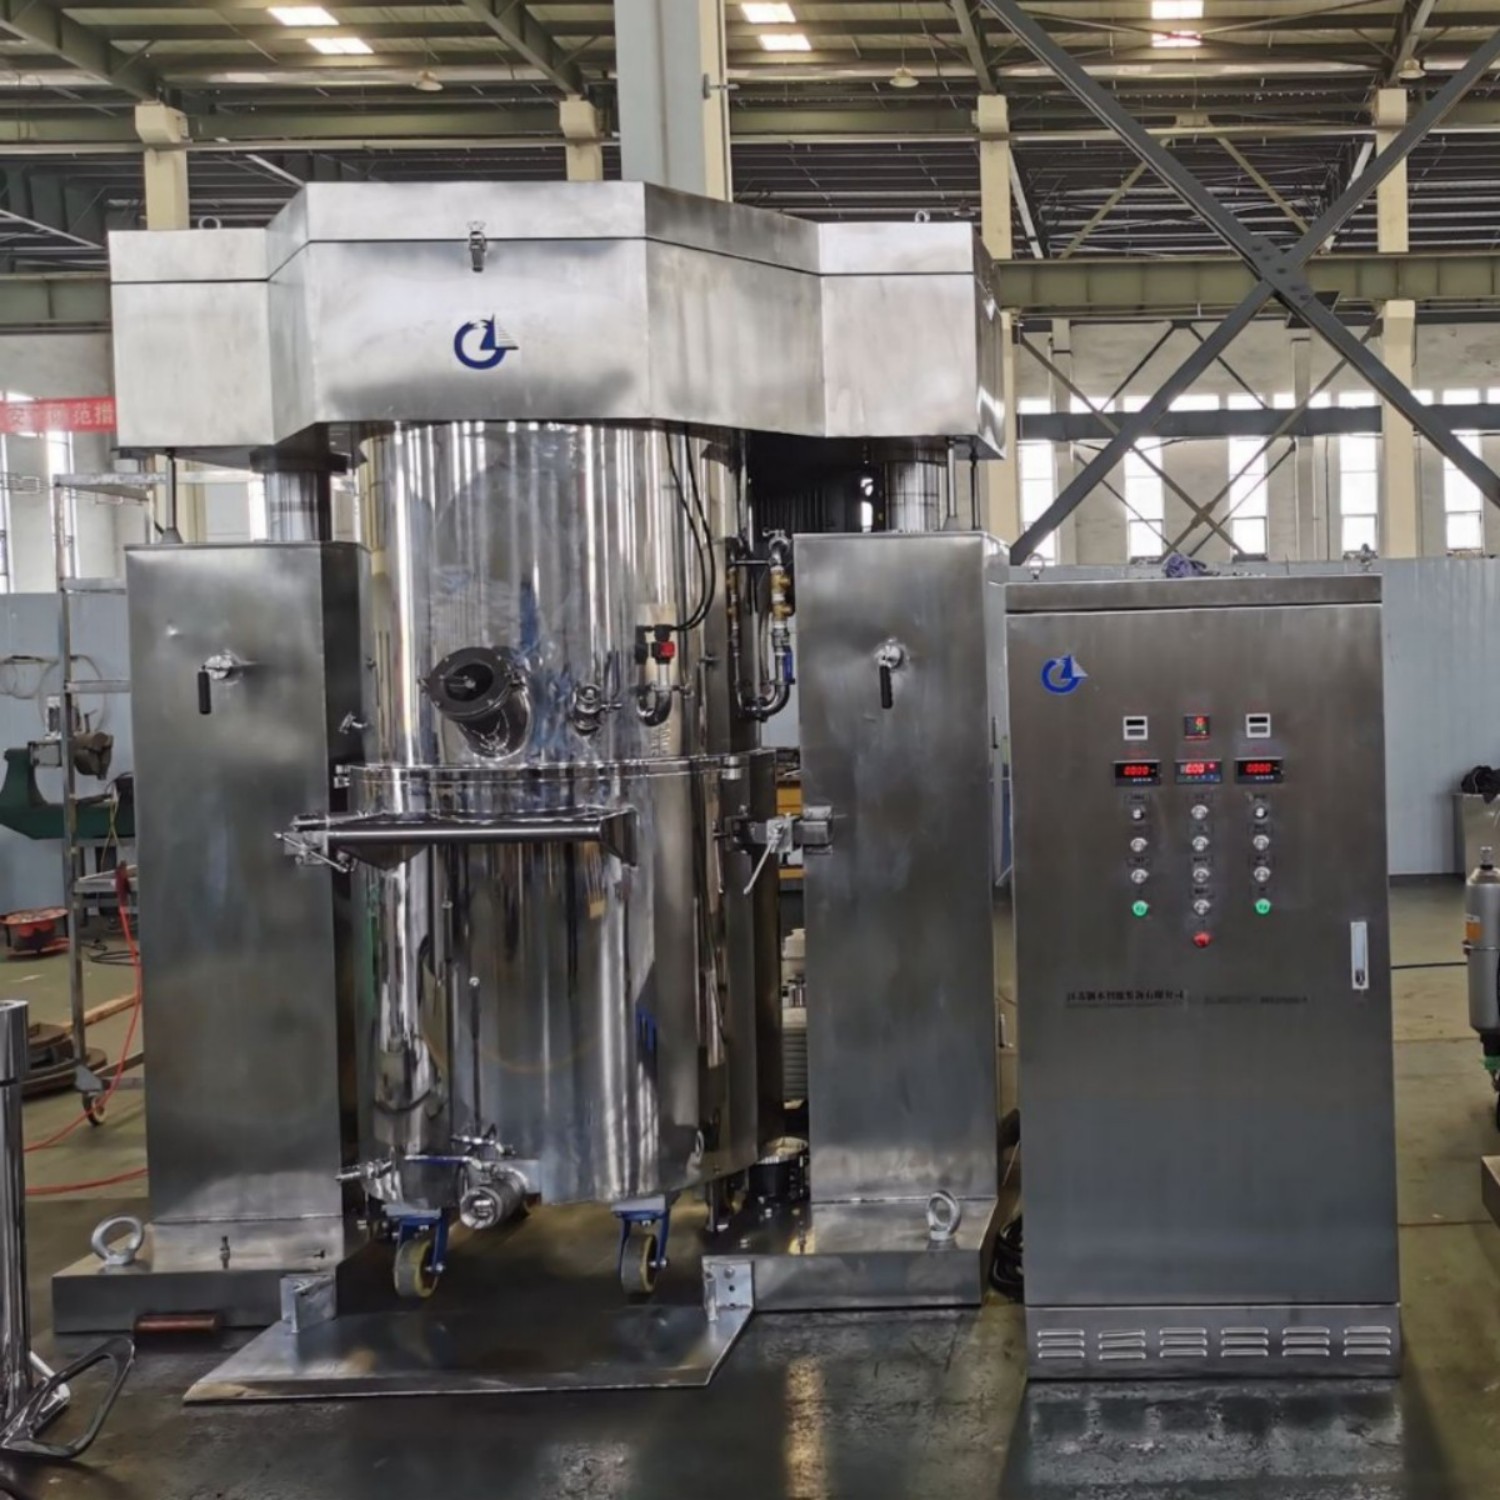
ThaiDetailed Installation and Operation Instructions for Large-Scale Vacuum Planetary Mixers
To avoid mistakes during installation and enhance the standardization and rationality of equipment use, this document details key considerations for the installation and operation of large-scale vacuum planetary mixers, providing practical references for users.
(I) Installation
Place the equipment in a well-ventilated room with a flat, solid floor of appropriate size and sufficient space for operator movement. After positioning, adjust the fixed feet to level the pot body—ensuring stable and reliable operation—then secure the equipment with anchor bolts.
Install a well-drained trench beneath the equipment. Fit cold and hot water pipes beside the pot to facilitate water addition during cooking and pot cleaning.
Connect the gas pipeline. Before starting gas piping work, confirm that the supplied gas matches the type specified for the mixer. Pipeline connection must be performed by professional technicians. After connection, leak-test all gas pipe joints to ensure airtightness.
Adjust the gas pressure. Set the gas pressure according to the table below before use. Additionally, verify that the dynamic pressure meets requirements when other gas appliances in the vicinity are in use simultaneously.
Ensure the availability of standard-compliant power sockets and a qualified grounding protection system. Connect the system securely to the equipment’s grounding bolt.
(II) Operation and Use
Equipment Inspection: Inspect the mixer before use to ensure all control and operating components are intact and the pot body is vertical. Confirm the supplied gas matches the type indicated on the equipment nameplate. Clean the inner and outer surfaces thoroughly with detergent before initial use.
Adding Materials: Place food, water, and other ingredients into the pot.
Power Activation: Press the "Motor Start" button (green) to initiate mixing. Start at low speed, then switch to high or maintain low speed based on cooking requirements. Never adjust the reducer speed while the motor is stationary.
Burner Ignition:
Step 1: Ensure the pilot flame knob and ignition rod knob on the control panel are fully closed, then open the main gas valve.
Step 2: Open the ignition rod knob to ignite the rod, insert it into the ignition port at the bottom of the combustion chamber, and simultaneously open the pilot flame knob to ignite the pilot burner.
Step 3: Remove the ignition rod, close its knob, and place the rod back in its original position.
Step 4: Press and turn each burner knob to the fully open position— the main burners will ignite automatically. Use the inner burner first, and after confirming stable combustion, activate the outer burner.
Flame Adjustment: For low-heat cooking, rotate the inner/outer burner knobs half a turn from the fully open position to the low-heat setting, or shut off one of the burners.
Completing Operation: After cooking, stop heating by returning the main and pilot burner knobs to the closed position. Close the main gas valve, press the "Motor Stop" button (red) to halt mixing, and then turn off the main power supply.
Pouring Operation: Perform pouring only after closing the burners and power supply! Turn the rotating arm handwheel to position the mixer appropriately. Rotate the pot-tilting handwheel to tilt the pot and pour the contents into a container. Swing the water faucet out of the pot’s range before tilting. Tilt the pot slowly to avoid scalding from splashing hot liquids. Never place hands or objects between moving parts to prevent pinching or jamming. Operate the pot-tilting mechanism from the right side—no one should stand behind the equipment to avoid crushing hazards.
News
- Latest News
- Solutions
- FAQ
Recommend Products
-
 5L Vacuum Emulsifying Homogenizer Mixer
The 5L vacuum emulsifying mixer is a device designed for emulsifying and mixing various substances in a vacuum environment. This equipment is equipped with a mixing tank with a capacity of 5 liters and is widely applied in industries such as food, pharmaceuticals, cosmetics, and pesticides.
-
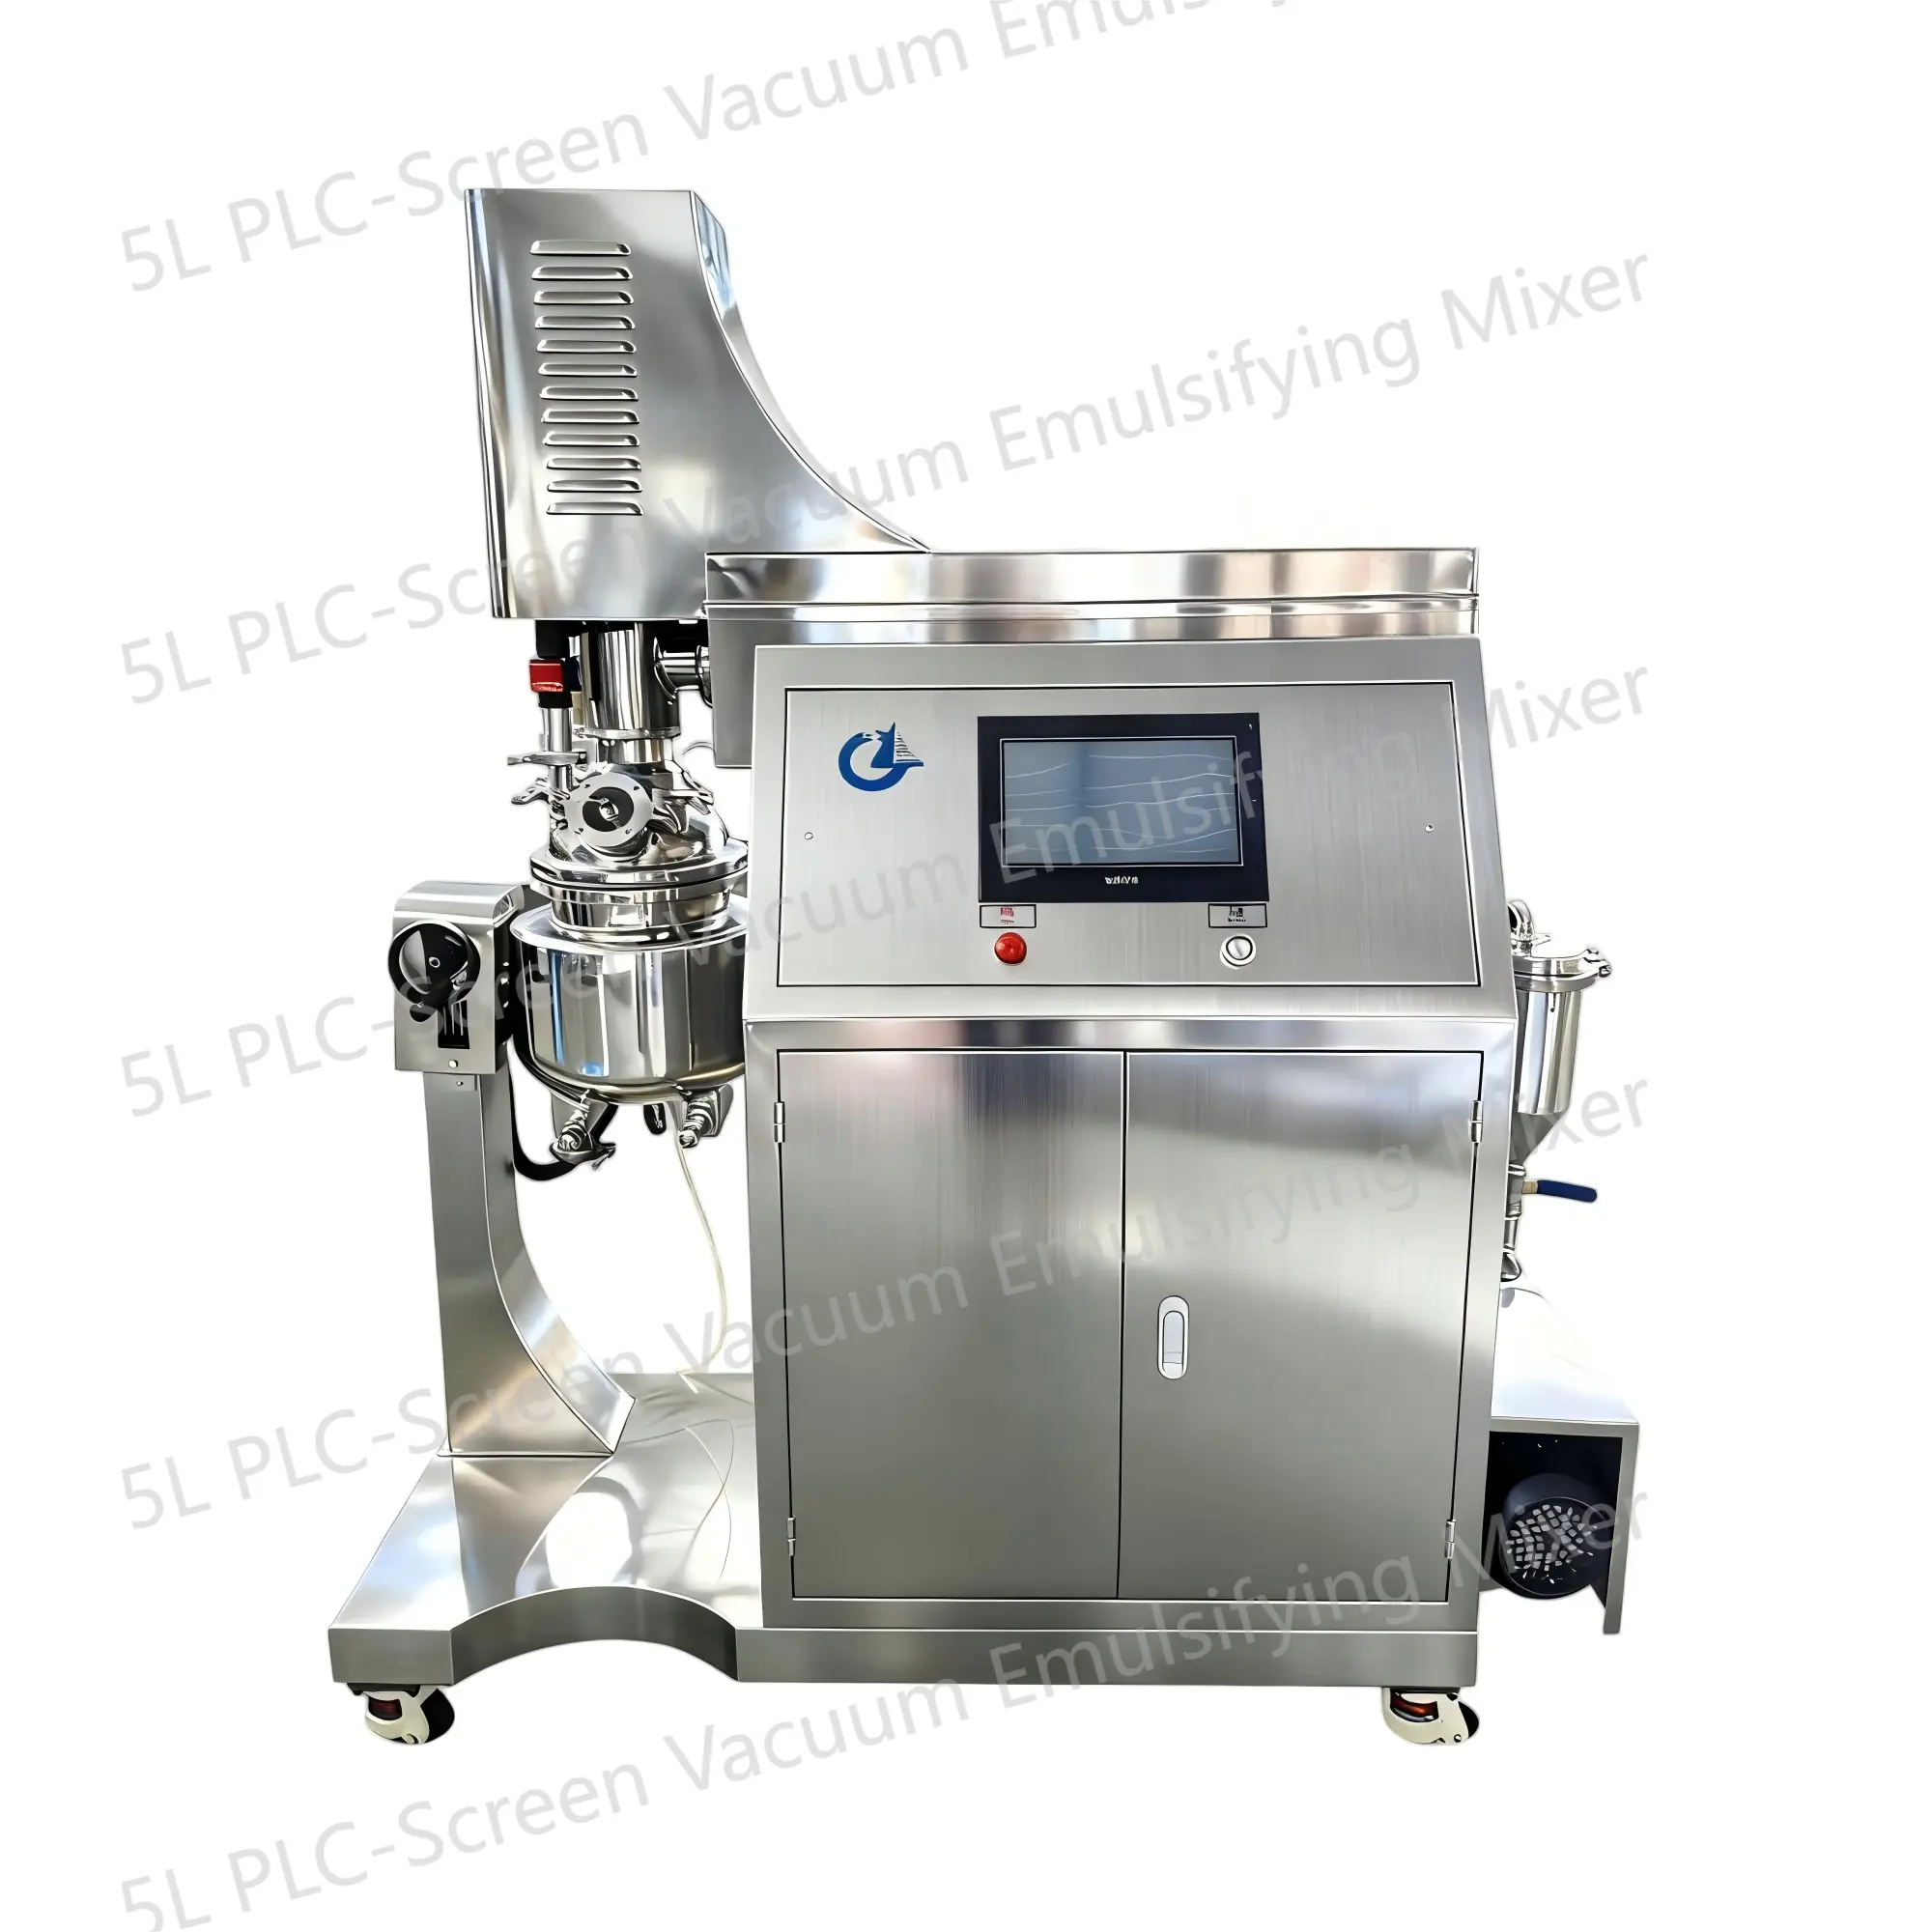 5L PLC-Screen Vacuum Emulsifying Mixer
The 5L PLC-Screen Vacuum Emulsifying Mixer is a device designed for emulsifying and mixing various substances in a vacuum environment. This equipment is equipped with a mixing tank with a capacity of 5 liters and is widely applied in industries such as food, pharmaceuticals, cosmetics, and pesticides.
-
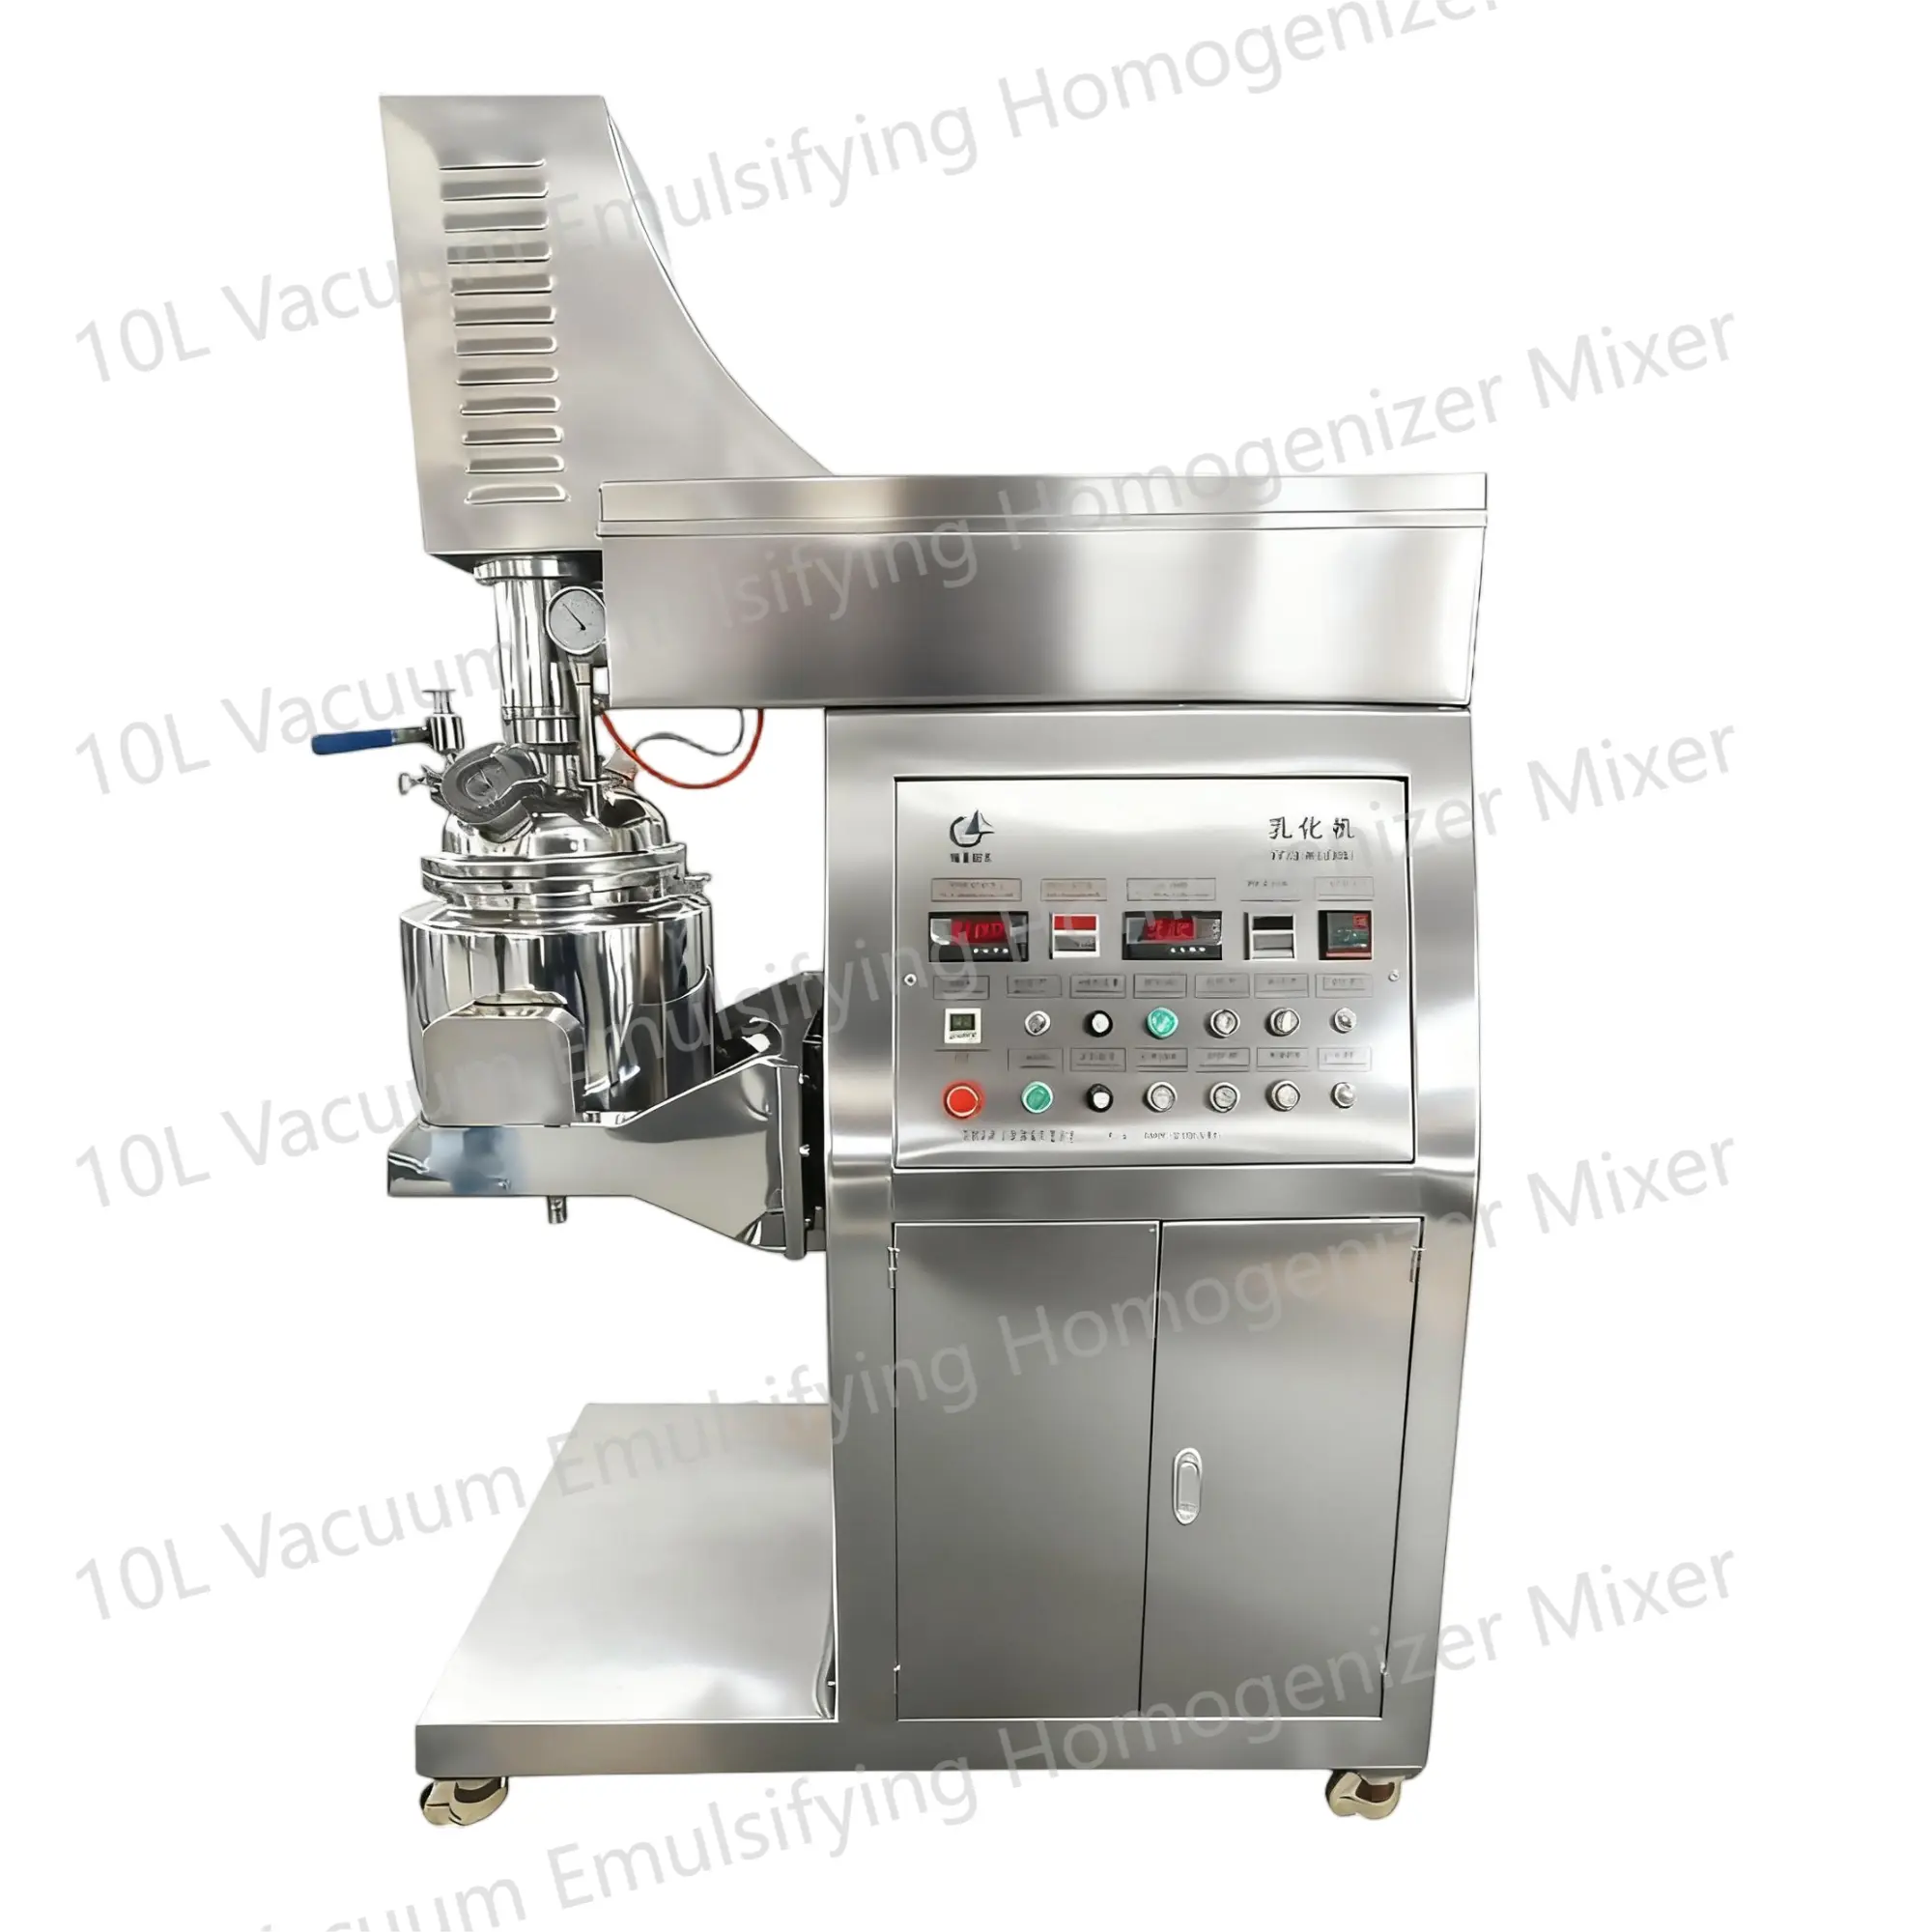 10L Vacuum Emulsifying Homogenizer Mixer
The 10L Vacuum Emulsifying Mixer is a device used for emulsifying and mixing various substances in a vacuum environment. It is commonly used in industries such as food, cosmetics, and pharmaceuticals.


